Drill Maintenance: Best Practices to Prolong Tool Life
Jump to section
Drill maintenance means you clean, inspect, and store your drill on a regular schedule so it keeps working as designed. You protect power, battery life, and safety by cleaning debris, checking the chuck and cords, caring for the battery, and storing the drill in a dry place. These steps reduce wear because dust blocks vents, dirty contacts limit power flow, and poor storage leads to rust and battery damage.
You will learn why drill maintenance matters, what problems show up most often, and how to prepare before you start. You will also see clear steps for cleaning, lubrication, battery care, and storage, plus tips that help prevent drill damage and avoid early failure.
Why Drill Maintenance Matters?

Key reasons to maintain your drill:
- Fewer unplanned stops due to early fault detection
- Lower repair costs by fixing small issues first
- Consistent drilling accuracy from aligned components
- Safer operation through tested systems
Drill maintenance protects uptime because drills work under high torque, vibration, heat, and pressure. These forces wear seals, bearings, hoses, and electrical contacts. When you inspect and service these parts on a schedule, you find wear early instead of during a breakdown.
Routine checks focus on fluids, filters, and fasteners. For example, clean hydraulic oil and intact hoses keep pressure stable. In practice, this means smoother rotation and fewer leaks that stop work mid-shift.
Maintenance also supports safety. Worn brakes, loose guards, or damaged wiring raise the risk of injury. When you test controls and replace worn parts, you reduce unexpected movement and electrical faults at the site.
You also extend equipment life. Lubrication limits metal-to-metal contact in rotary heads, rods, and bearings. Because friction drops, heat stays lower, and parts reach their expected service hours instead of failing early.
What are the Most Common Drill Problems?
Many drill problems start with power loss. In cordless drills, worn lithium‑ion cells or a damaged charger reduce voltage output. Because the motor receives less power, torque drops. For you, this means the drill stalls under load or stops mid‑task.
Overheating is another frequent issue tied to drill maintenance. Long run times, blocked air vents, or a dull bit raise motor temperature. Heat breaks down internal insulation. In practice, this leads to a hot housing and shorter motor life.
You may also notice chuck slippage. Dirt, metal dust, or worn jaws reduce grip strength inside the chuck. Because the jaws cannot clamp evenly, the bit spins. For you, this means poor hole accuracy and wasted effort.
Unusual noises or vibration often point to internal wear. Worn bearings, loose gears, or dry grease create grinding or rattling sounds. In other words, moving parts no longer align smoothly, which speeds up failure if ignored.
The list below shows common problems and what usually causes them:
- Battery drains fast: aged cells with reduced charge capacity
- Bit wanders: bent bit or loose chuck
- Trigger delay: worn switch contacts
- Burning smell: overheated motor windings
Regular drill maintenance helps you spot these problems early and avoid sudden breakdowns during use.
What are the Preparations for Proper Drill Maintenance?
Start by disconnecting the drill from its power source. Unplug corded drills or remove the battery pack from cordless models. This step stops accidental starts, which reduces the risk of hand or eye injury during cleaning.
Set up a clean, dry work area with steady lighting. Dust and moisture affect metal parts because fine debris can enter vents and bearings. For you, this means fewer issues with overheating or early wear.
Gather the right tools before you begin. Use a soft brush, compressed air, a clean cloth, and light machine oil. Having these items ready keeps the process controlled and prevents missed steps.
Check the drill’s current condition before any work. Look for cracked housings, loose screws, or frayed power cords. In practice, spotting damage early helps you decide whether to clean, repair, or replace parts.
Use the checklist below to confirm you are ready:
| Preparation Step | Why It Matters |
| Power disconnected | Prevents accidental startup |
| Clean workspace | Reduces dust entry into vents |
| Correct tools ready | Avoids rushed or unsafe handling |
| Visual inspection done | Identifies safety issues early |
| Manual reviewed | Ensures correct maintenance steps |
How to Maintain Your Drill?
Proper drill care focuses on safety, regular cleaning, correct lubrication, and dry storage. These actions prevent rust, reduce wear, and keep parts working as designed.
Step 1: Power Down Before Drill Maintenance
Always shut off the drill before you start any maintenance. Unplug corded drills from the outlet. Remove the battery from cordless drills.
This step matters because live power can spin the motor or chuck without warning. That movement can pinch fingers or damage parts. With no power, you can inspect parts closely and apply pressure when needed.
Set the drill on a flat surface and let it cool. Heat builds up in the motor and gearbox during use. Cooling prevents oil from thinning and spreading to places it should not reach. For you, this means safer handling and more accurate maintenance.
Step 2: Clean the Drill After Each Use
Regular cleaning removes dust, wood chips, and metal shavings. These particles hold moisture and cause rust on steel parts.
Wipe the body with a dry or lightly damp microfiber cloth. Use a soft brush to clear vents. Open vents allow air to cool the motor. When vents clog, heat rises and shortens motor life.
Avoid spraying liquid into the drill. Liquids can reach wiring and bearings. If you work in wet conditions, dry the drill fully before storage. This step matters because moisture leads to corrosion. In practice, dry storage and clean surfaces keep switches and motors working longer.
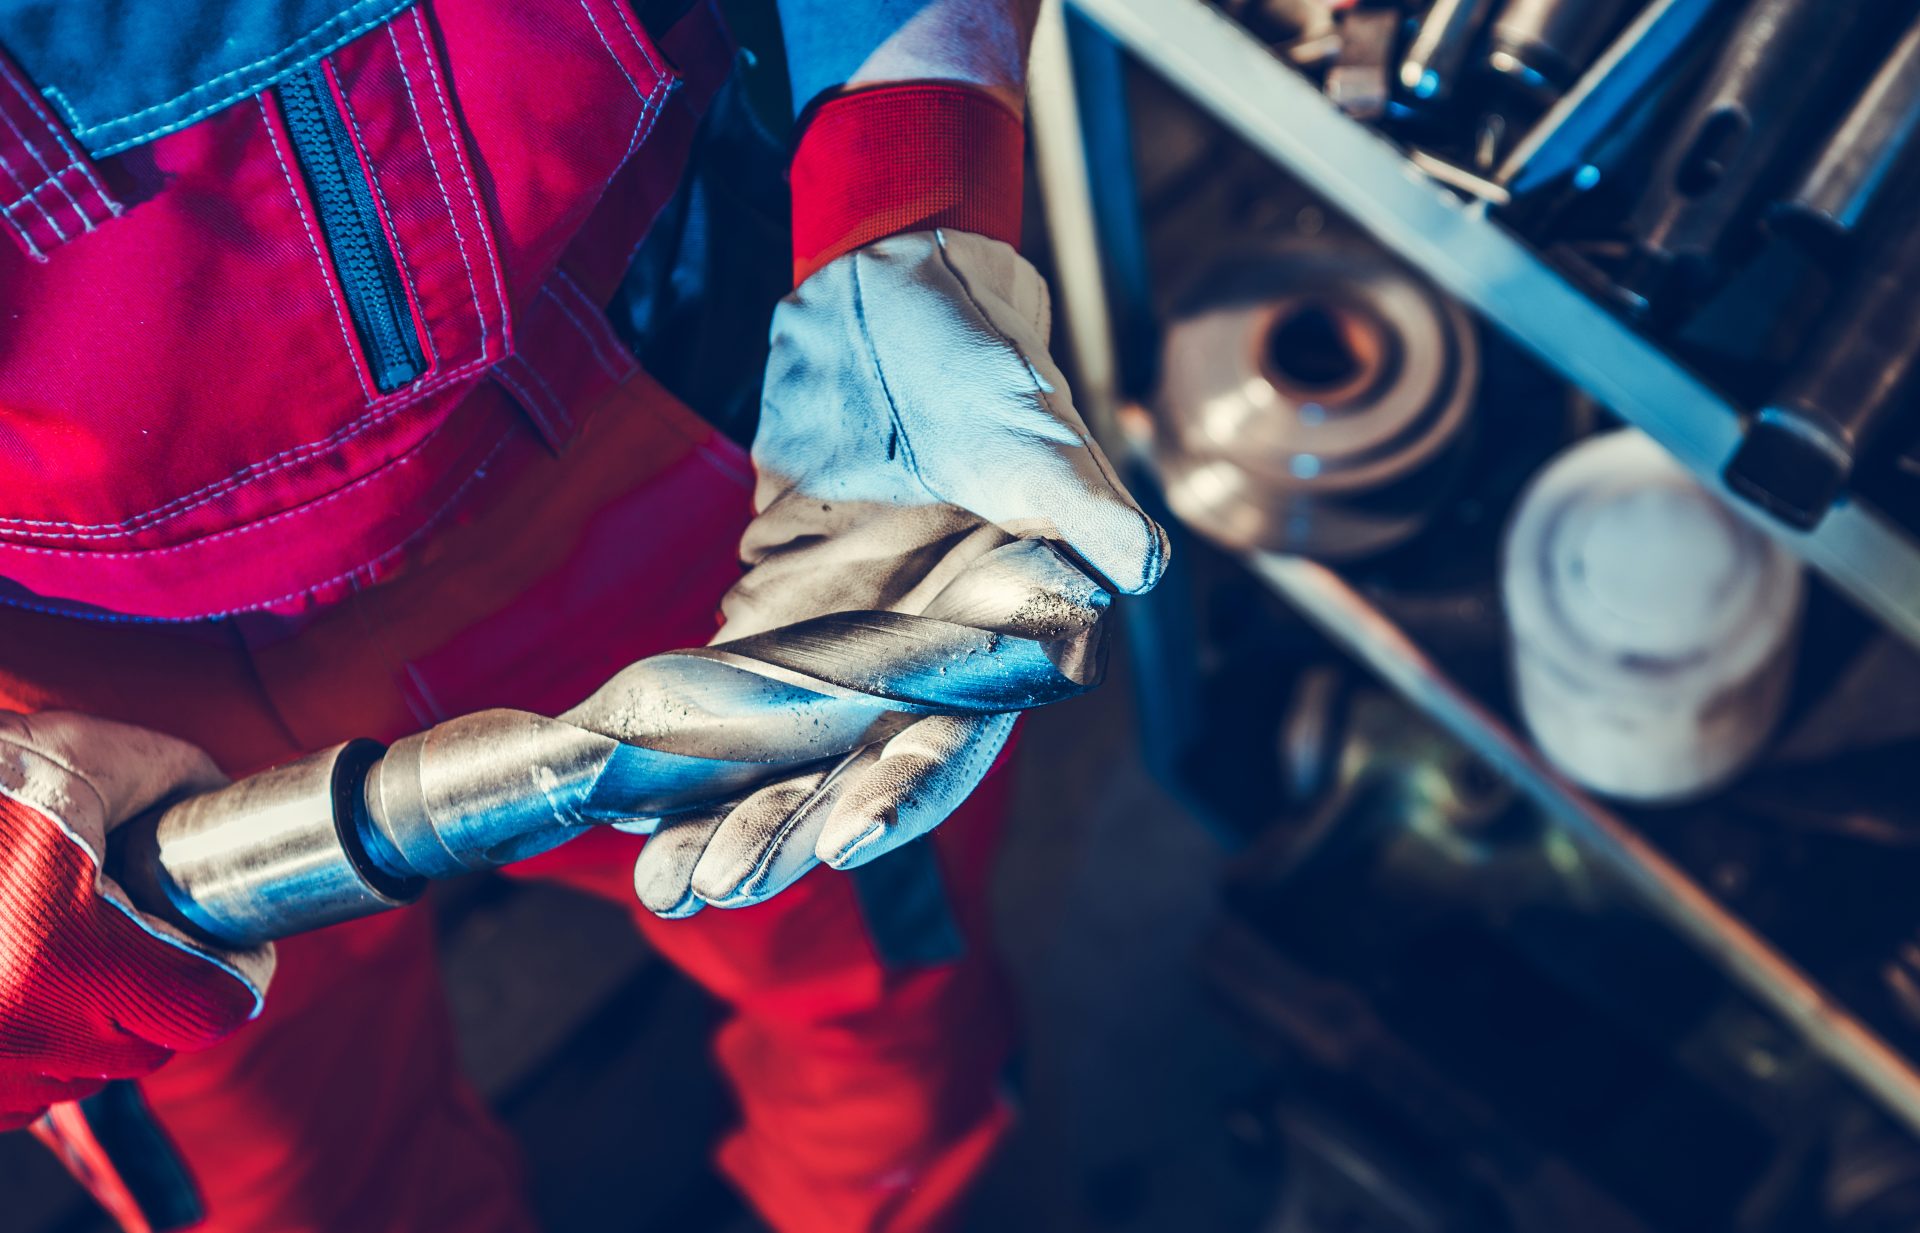
Step 3: Maintain the Chuck and Drill Bits
Inspect drill bits before and after use. Look for dull edges, chips, or bends. Damaged bits strain the motor because they cut poorly. That strain increases heat and wear.
Remove bits and clean the chuck jaws. Use a cloth to wipe out dust and metal grit. Open and close the chuck fully to clear debris.
Lightly oil the chuck jaws with one drop of machine oil. Oil reduces friction, which lets the jaws grip evenly. For you, this means fewer slipping bits and cleaner holes. Store bits in a case to keep edges sharp and sizes easy to find.
Step 4: Lubricate Moving Parts Properly
Lubrication reduces friction between moving metal parts. Less friction means less heat and slower wear.
Use light machine oil on metal parts like the chuck sleeve. Apply only a few drops. Wipe off excess oil to prevent dirt from sticking.
Do not oil plastic parts or vents. Oil can trap dust and block airflow. Some manufacturers allow a short spray of water-displacing oil on bare metal to prevent rust. Apply it to a cloth first, not directly to the drill. For the user, this controlled method protects metal without harming internal parts.
Step 5: Care for Batteries and Power Connections
Battery care affects drill power and run time. Remove the battery before cleaning or storage.
Wipe battery contacts with a dry cloth. Clean contacts allow steady current flow. When contacts clog with dust, power drops and heat rises.
Charge batteries at room temperature. Extreme heat or cold damages cells. Lithium-ion batteries last longer when stored at about half charge. In practice, this slows chemical breakdown inside the cells. Inspect cords on corded drills. Replace cords with cracks or exposed wire to prevent shocks and power loss.
Step 6: Store the Drill the Right Way
Store your drill in a dry, clean place. Moisture causes rust on steel parts and corrosion on contacts.
Use the original case if possible. A case blocks dust and limits impact damage. If you hang the drill, keep it off concrete floors, which hold moisture.
Before long-term storage, clean the drill and apply a light rust-preventive oil to exposed metal. Remove batteries and store them separately. For you, this setup keeps parts dry, aligned, and ready for use the next time you pick up the drill.
Tips to Prevent Drill Damage
Follow these tips to prevent drill damage:
- Clean your drill after each use
- Inspect drill bits before every job
- Use the right bit and speed for the material
- Check the chuck and tighten it fully
- Avoid overloading the drill
- Inspect the power cord or battery contacts often
- Store the drill in a dry place
Clean your drill after each use. Dust blocks cooling vents, which traps heat and strains the motor. For you, this means wiping the housing and clearing vents with a brush or compressed air as part of regular cleaning.
Inspect drill bits before every job. A dull or chipped bit forces the motor to work harder because it cannot cut cleanly. In practice, replacing worn bits reduces heat, lowers vibration, and protects internal gears.
Use the right bit and speed for the material. Wood, metal, and masonry need different bit types and RPM ranges. When you match speed and bit to the task, you avoid stalling, bit breakage, and chuck damage.
Check the chuck and tighten it fully. A loose chuck allows bit wobble, which increases wear on bearings. For you, this means stopping work if the bit slips and retightening before continuing.
Avoid overloading the drill. Pushing too hard raises current draw and motor temperature. In real use, steady pressure lets the bit cut at its designed rate and prevents burnout.
Inspect the power cord or battery contacts often. Cracked insulation or dirty contacts interrupt power flow. This matters because unstable power causes arcing, heat, and internal damage.
Store the drill in a dry place. Moisture leads to rust on metal parts and corrosion on contacts. Keeping it dry protects the chuck, switch, and electrical paths.
FAQs
How often should I perform maintenance on my drill?
You should perform basic maintenance after every few uses, and more often in dusty work. Dust from wood, concrete, or drywall can enter vents and moving parts, which restricts airflow and raises motor heat.
In practice, this means you should wipe the exterior, clear vents with compressed air, and check the bit after each job. You should also complete a deeper check, such as cord inspection and chuck lubrication, every few months.
What’s the best practice for lubricating a drill chuck?
You should lubricate the chuck using a small amount of light machine oil. Apply the oil directly to the chuck jaws after cleaning out dust and debris.
Because oil reduces metal-on-metal friction, the jaws open and close smoothly and resist corrosion. For you, this means the bit stays centered and tight during drilling.
What are the signs that my drill needs maintenance?
Common signs include grinding sounds, reduced drilling speed, overheating, or a chuck that slips under load.
Visible damage also matters. Frayed power cords, cracked housings, or dull bits indicate wear that can affect safety and drilling accuracy.
Want to Know More About Our Products?
View All Products Now